Intro to the Block Editor
The Block Editor is the main content editing interface used in WordPress. This is where you'll spend most of your time when managing your site's content.
Concepts
Blocks
Blocks are the content elements that you add to create content layouts. You can add blocks for paragraphs, images, headings, lists, videos, galleries, and more. You can control the layout of the blocks with ease, to build visually appealing web pages.
WordPress has blocks for all common content elements, and more can be added through WordPress plugins. For the DC 37 website, we have also created some custom blocks.
Block Patterns
Block patterns are pre-built groupings or layouts of multiple blocks. Block Patterns make it quicker to build complex layouts that are commonly needed on a site.
Block editor layout

The WordPress block editor workspace has three main sections:
- the top Toolbar
- the sidebar with the post/page settings and the block settings
- the content area - where you will make the edits to your content.
Read more: WordPress Block Editor
Toolbar

- View Posts / View Pages - Click the Site Icon to exit the editor and back to the list of Posts or Pages
- Toggle block inserter - Show or Hide block inserter that allows users to add blocks, patterns or media to your post or page.
- Undo /Redo - Undo an action, or redo an undone action.
- Document Overview
- Command Palette - helps you streamline your workflow in the WordPress editor by providing a centralized location to work on various aspects of your site’s design. Click this field, or press Cmd+k on Mac or Ctrl+k on Windows. Read more about the Command Palette
- Save draft / Saved - Save a draft of your post or page without publishing it. If the post or page is saved successfully, the label changes to Saved. Once the post or page is published, this label is hidden.
- View - View how your post/page looks on your site with the current changes applied.
- Settings - | Show or hide the post/page sidebar settings and the block settings.
- Publish / Save - Make your post/page available publicly. Once the post or page is published, the button label will change to Save.
- Options - More block editor options
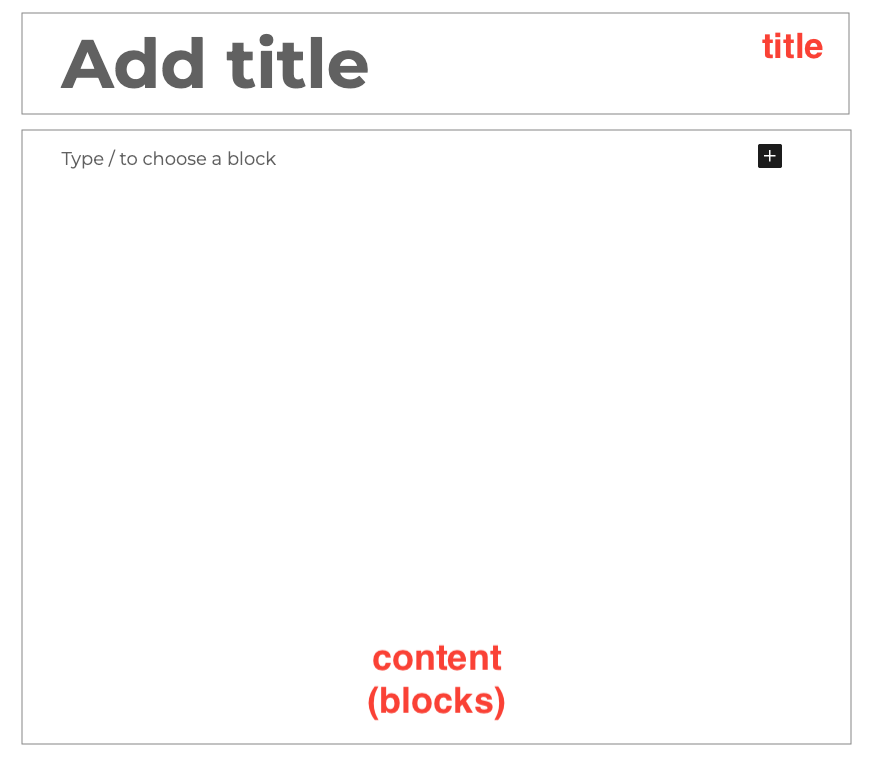
Content Area
The content area is where you will see the blocks that form your post/page content. At the top you will generally see the Title, followed by the content (blocks).
Document Overview
There are two tabs for the document overview panel:
- List View - shows a list of all of the blocks that are on the post/page and allows you to easily navigate between the blocks on your post/page. Read more about List View tool
- Outline - Shows the post/page details, and the document outline showing the headings and how they are structured on the post/page.
Settings panel
You will see two tabs in the Settings panel:
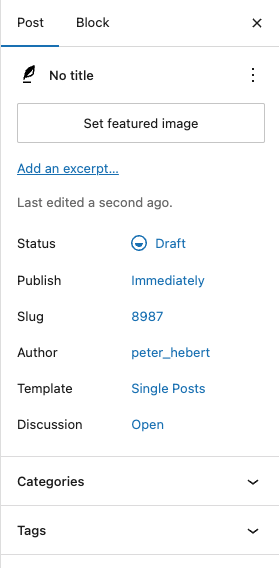
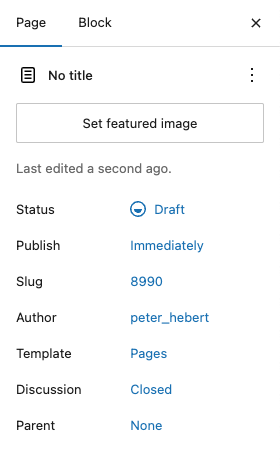
Current Document (Post/Page)
- The label at the top of this tab will be that of the current post type (Page, Post, Local, etc)
- In the current document settings panel, you'll see various options and
settings related to the post, page (or other custom post type) that
you are currently editing:
- Featured Image - set the featured image for your page.
- Status - the publishing status of the page - see Post Status
- Slug - this is derived from the title, but converted to a format that is safe for use in the permanent URL (permalink) of your post or page.
- Author - the username of the account that created the page.
- Template - the page template used to control the layout of the post or page. Some Post Types may have more than one template, some will not.
- Discussion - whether or not commenting is enabled for the current post.
Here are examples for Posts and Pages:
Read more: Settings Sidebar
Block Settings Panel
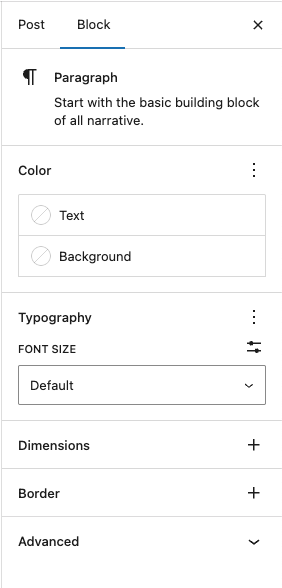
This panel contains settings to customize the currently selected block. These controls will be contextual to the block type you have selected. These could be things like typography, colors, margins and padding, etc.
Inserting Blocks
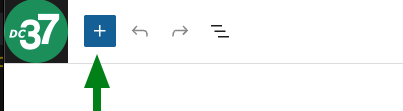
To insert a Block, open the block inserter panel by clicking the toggle in the top toolbar of the block editor. It is a button with a plus sign +
The block inserter panel lists all the blocks you can insert into your page content. There are tabs at the top grouping Blocks, Block Patterns, and Media. There is also a search field where you can search by name, category, or keywords.
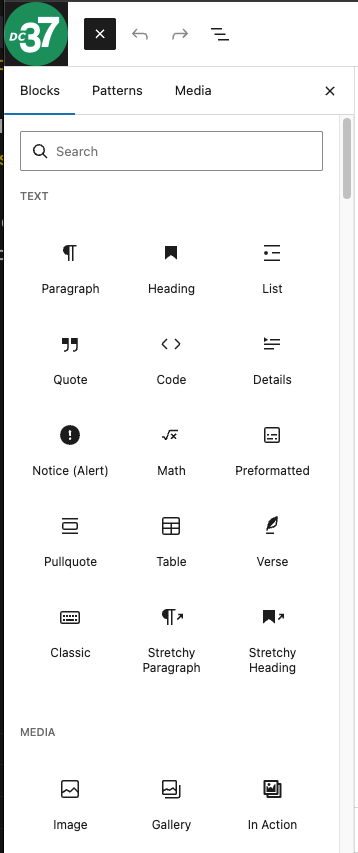
The list of blocks are grouped by category.
To see a description of each block, just hover over the icon in the inserter panel.
To insert a block, just click on the icon of the block you wish to insert.
Inserting Block Patterns
Block patterns are pre-built layouts of multiple blocks. Block Patterns make it quicker to build complex layouts that are commonly needed on a site.
To insert a Block Pattern, click the new block button on the top toolbar of the block editor. It is a button with a plus sign +
From the block selection sidebar that appears, click on the Patterns tab.
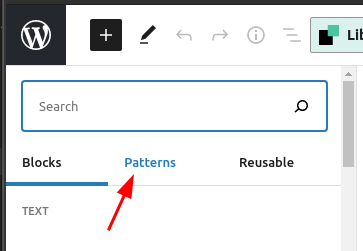
The Patterns tab shows a list of categories of patterns that you can choose from. Clicking on a category name opens a secondary panel to list all the patterns in the category.
You can browse through the available block patterns, search for patterns with the search field, or click the Explore all patterns button at the bottom of the panel.
To insert a pattern, just click on its preview to insert at the current position in the editor, or drag and drop the pattern to where you want it.
See the list of block patterns created for DC 37
Inserting Media
More resources
- WordPress Block Editor - WordPress support guides
- Blocks list in WordPress core
- Intro to Publishing with the Block Editor - tutorial with screencast video